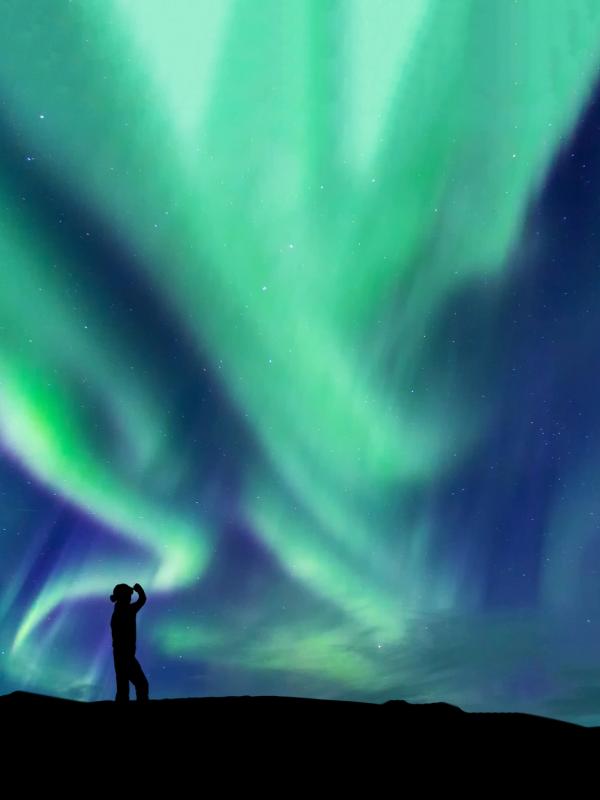
How to Photograph Northern Lights in Iceland
Many photographers dream of capturing the ethereal dance of the Northern Lights in Iceland, and our comprehensive guide on "How to Photograph Northern Lights in Iceland" will equip you with tips and tricks for a successful shoot.
Explore the technical aspects of photographing the auroras, and let an Iceland camper rental be your mobile base for creating stunning visuals of this celestial phenomenon. Our guide not only provides insights into camera settings and compositions but also emphasizes the benefits of mobility and spontaneity, perfectly complemented by the freedom offered by an Iceland camper rental.
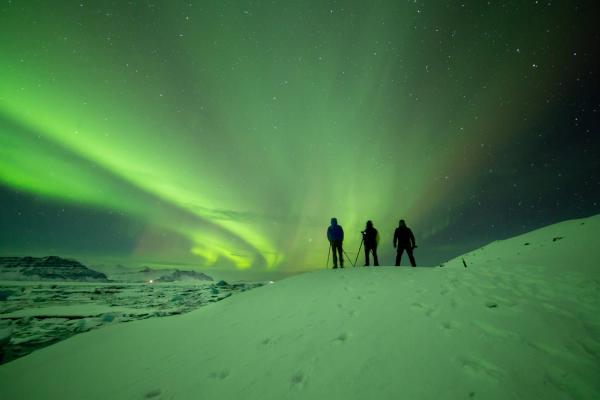
There’s nothing quite like witnessing the northern lights unfold across the sky in Iceland, dancing and rippling in shades of green, pink, purple, and white. If you’ve traveled to Iceland to see them, then you’ll also probably want to take a photograph or two so you can remember the incredible natural spectacle.
But capturing a great picture of the northern lights takes more preparation than simply showing up at the right time. There are camera settings to consider, gear that you’ll need, and plenty of other things as well.
Let’s jump right in; here’s how to photograph the northern lights in Iceland.
What Type of Camera Do I Need to Photograph the Northern Lights?
The best camera for capturing the northern lights is a full-frame DSLR. You’ll preferably want a full-frame camera with good ISO settings to tinker with when shooting.
Lately, more and more mirrorless cameras have stepped up their game, and they are fantastic for photographing Iceland's northern lights.
Whether you use a mirrorless or DSLR camera, you’ll want to ensure it’s weather-sealed and can handle any rain, snow, or sleet Iceland may throw its way.
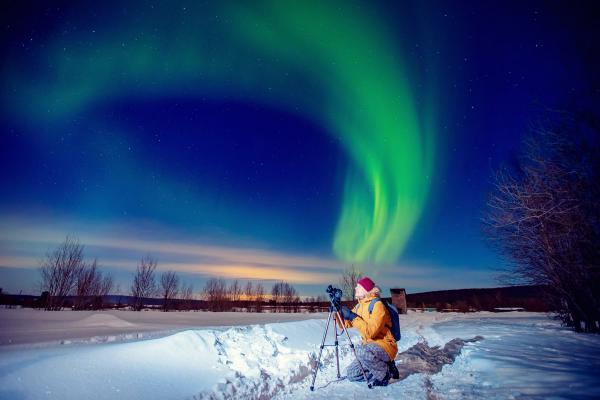
Taking a Picture of the Northern Lights with a Smartphone
The latest smartphones on the market have far more advanced cameras nowadays, making it easier than ever to capture shots of the northern lights in Iceland. For those who aren’t professional photographers and don’t have thousands of dollars worth of camera gear, it’s still entirely possible to get a great shot.
With larger sensors, fabulous low-light performance, and several lenses, capturing the aurora in Iceland can sometimes be as simple as selecting the right setting on your iPhone or Android.
If you go this route, make sure you play around with your camera's ‘Professional’ setting. This setting lets you customize things like aperture, shutter speed, ISO, etc., just like you would with a regular camera.
Camera Gear for Photographing the Northern Lights in Iceland
So, you’ve got a great camera or the latest smartphone and are all set to venture out into the cold to try and capture a fabulous photo of the northern lights. But there are a few other things that will make photographing the northern lights in Iceland much easier.
Tripod
One of the essential pieces of photographers’ kit when it comes to northern lights photography is a tripod. This will hold your camera steady while the shutter is open, ensuring that your photo doesn’t come out blurry.
Wide Angle Lens
A wide-angle lens will help you capture more of that amazing Icelandic scenery and more of the sky as well.
It can either be a prime wide-angle lens, which is fixed at a certain focal length, or a zoom wide-angle lens, which gives you a little more room to frame your shot.
Shutter Release
A shutter release is something that you connect to your camera and use to trigger taking the photo without touching the camera itself.
This eliminates all chances of a blurry photo due to the camera moving, which could happen if you press the button on the camera itself.
Extra Camera Batteries
Another handy thing to have on your northern lights photography expedition in Iceland is extra camera batteries.
The northern lights are notoriously fickle, and you might spend more time than you first thought waiting for them to appear. The colder weather also drains batteries faster than usual, so having a few spares in your backpack is a good idea.
Memory Cards
When the northern lights do appear, the last thing you want is to run out of space on your camera’s memory card. This can easily happen when shooting in RAW (recommended – see below) as the file sizes are much larger than shooting in JPEG.
Having a couple of extra memory cards on hand will ensure you can capture as many shots as possible.
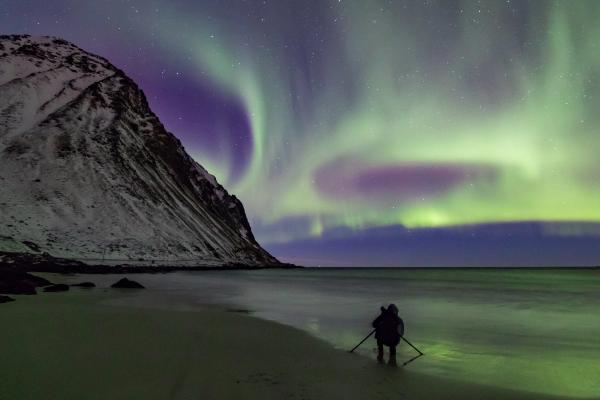
Camera Settings for Northern Lights Photography
You’re all set up and ready to go – now, what do all these camera settings mean, and how can I use them to capture a great shot of the northern lights?
Aperture Setting
The aperture refers to just how wide the opening in your camera lens is, letting in light. This is measured in a thing called an f-stop. The smaller the f-stop, the wider the opening is the more light gets let in.
For your best bet of capturing the northern lights, you’ll want to ensure your f-stop setting is set to as wide as possible (the lowest number).
Shutter Speed
Once you’ve got your aperture set to the widest it can go, then it’s time to turn your attention toward the shutter speed.
This setting refers to how long your camera’s shutter will be open and how much light enters the camera for your photo.
Since the northern lights come out in the dark, your camera will need a very long shutter speed to be able to pick up the northern lights in the photo. It will depend on the night, whether there’s a bright full moon, light reflection off the snow, etc., but it’s recommended to keep the shutter speed below 20 seconds. Anything above that and the stars in the photo will start to become blurry.
ISO
You don’t want your ISO setting to be too high when photographing the aurora in Iceland. Somewhere between 800 – 1600 is a good bet, although you could also just leave the setting on auto.
If the northern lights are a bit weaker, experiment with nudging up your ISO setting to better capture them in the sky.
RAW or JPEG?
For best results when photographing the aurora in Iceland, you’ll want to switch your camera settings so that you’re shooting photos in RAW.
These files contain much more data and will give you the best results when it comes to editing your image later.
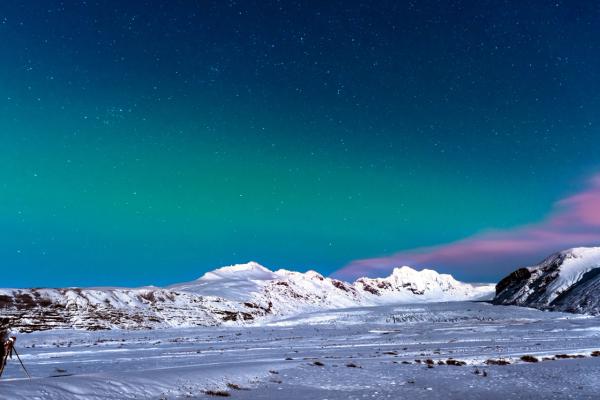
The Best Locations for Northern Lights Photography
Iceland is a paradise of wonderful landscapes, picturesque coastlines, and dream-like waterfalls, giving photographers an incredible variety of places to shoot the northern lights.
Some of our favorite Iceland photography spots include Kirkjufell Mountain on the Snæfellsnes Peninsula, Stokksnes in the southeast corner of Iceland, and the waterfall Goðafoss in the north of the country on Route 1.
For more photogenic spots to plan out an Iceland photo tour for shooting the northern lights, check out The 10 Best Places to See the Northern Lights in Iceland.
When Can I Photograph the Aurora in Iceland?
The aurora is happening at all times of the day and night, however, for it to be visible to the human eye it needs to be dark.
During summer, the long daylight hours mean that the northern lights aren’t visible. It’s during the colder months (end of August until end of April) that the sky is dark enough for the northern lights to appear.
How to Read the Northern Lights Forecast in Iceland
The weather conditions are another important factor to consider when you want to photograph the northern lights. If there’s a lot of cloud cover, it will be impossible to see the aurora unless there are some small gaps in the clouds.
The Northern Lights forecast details cloud cover, showing lower, middle, and high clouds. You can also see the aurora forecast on the right side of the page, measured on a scale of 0 to 9. Generally, you’ll want the forecast to show a four or higher, although the lights have been known to appear even on days when the forecast has been 0.
Final Advice for Northern Lights Photography in Iceland
Wide aperture, long shutter speed, low ISO, and the use of a tripod – these are the key takeaways for photographing the northern lights in Iceland.
Other than all the camera gear, you’ll also want to make sure that you’re rugged up against the cold – Iceland winter photography can get very chilly very quickly. A good pair of gloves is essential, and ones that also let you fiddle with your camera settings without too much trouble.
Conclusion
Capturing the northern lights in Iceland is one of those bucket-list experiences you’ll never forget. To get the perfect shot, it’s all about preparation—bringing the right gear, knowing your camera settings, and picking the best spots to watch the aurora dance across the sky.
